Last Updated:
September 7, 2022
by
Will Hartland
| Version: 1
| 43 views
| 1 follower
members are following updates on this item.
How widgets appear on a Page, and how sections of a Page look, can be altered by applying custom CSS to the Page row that contains them. These styles can help draw attention to important information, provide new ways of interacting with content, or better align your digital workplace's appearance with your corporate brand. Workplace Administrators and users with at least Edit Access to a Page where the widget is located can apply this custom CSS by adding the related CSS class to the row section of a Page. This CSS class should correspond with a CSS selector that has already been added to your digital workplace's CSS theme.
Some classes can also be applied directly to widgets. To do this, check out the article applying custom CSS to widgets.
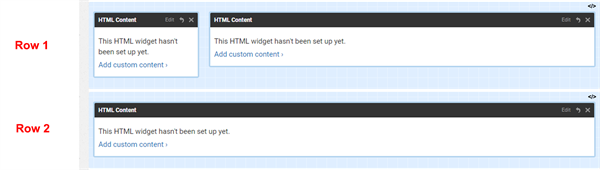
The following steps describe how to add a custom CSS class to a row. Rows on a Page can contain multiple widgets and are denoted by shaded blue areas separated by blank spaces. Applying CSS to a row will only affect the widgets contained in it.
After publishing the Page, you should see the effect of your style. If you do not, verify that you are using the correct class name.
![]()
1 Bartholomew Lane
London, EC2N 2AX, UK
Tel: +44 (0) 203 650 6300